


Endpoint Credentials and Access Control
Introduction
Building a Strong Password
Building a strong password is one of the first and most important steps in ensuring no one but yourself and those you authorize can access your system.
When creating and managing passwords, follow these rules to effectively balance convenience and security:
- Avoid using short, simple passwords. Instead, use:
- At least 3-4 words (or a minimum of 12 random characters)
- Capital letters
- Special characters (e.g.
#,@!$%^&*()) - Numbers
- Don’t reuse passwords. Reusing passwords could give a hacker access to multiple accounts.
- Use a strong password manager. It can be dangerous to write your passwords down if you use your computer in a public area such as an office, and keeping your passwords in something like a text document can also easily be stolen. Using a password manager can be a strong way to protect your passwords.
To view Virginia Tech’s password requirements and password examples, see the Changes to Password Requirements article published by the Division of IT. Following these password complexity rules for other personal endpoint accounts will ensure the best balance between safety and ease of use.
Two Factor Authentication
Many services offer two factor authentication, which requires not only the use of a username and password but also another form of authentication such as a smartphone. Two factor authentication can be incredibly strong as even if your username and password become compromised a hacker would still need access to this second form of authentication to get in to your account. Virginia Tech recommends using the app Duo for Two Factor Authentication. More information on how to use Two Factor Authentication can be found at Virginia Techs 4Help Page
Password Manager
Using a password manager can be a safe way to protect and manage all of your passwords. Virginia Tech recommends using LastPass, one of the most popular password managers.
Procedures
Windows 10
Configuring Windows Hello
Some Windows Devices support Windows Hello, allowing you to unlock your device with a PIN, facial recognition, or a fingerprint.
- Select START > Settings > Accounts > Sign-in options.
- Select Manage how you sign in to your device.
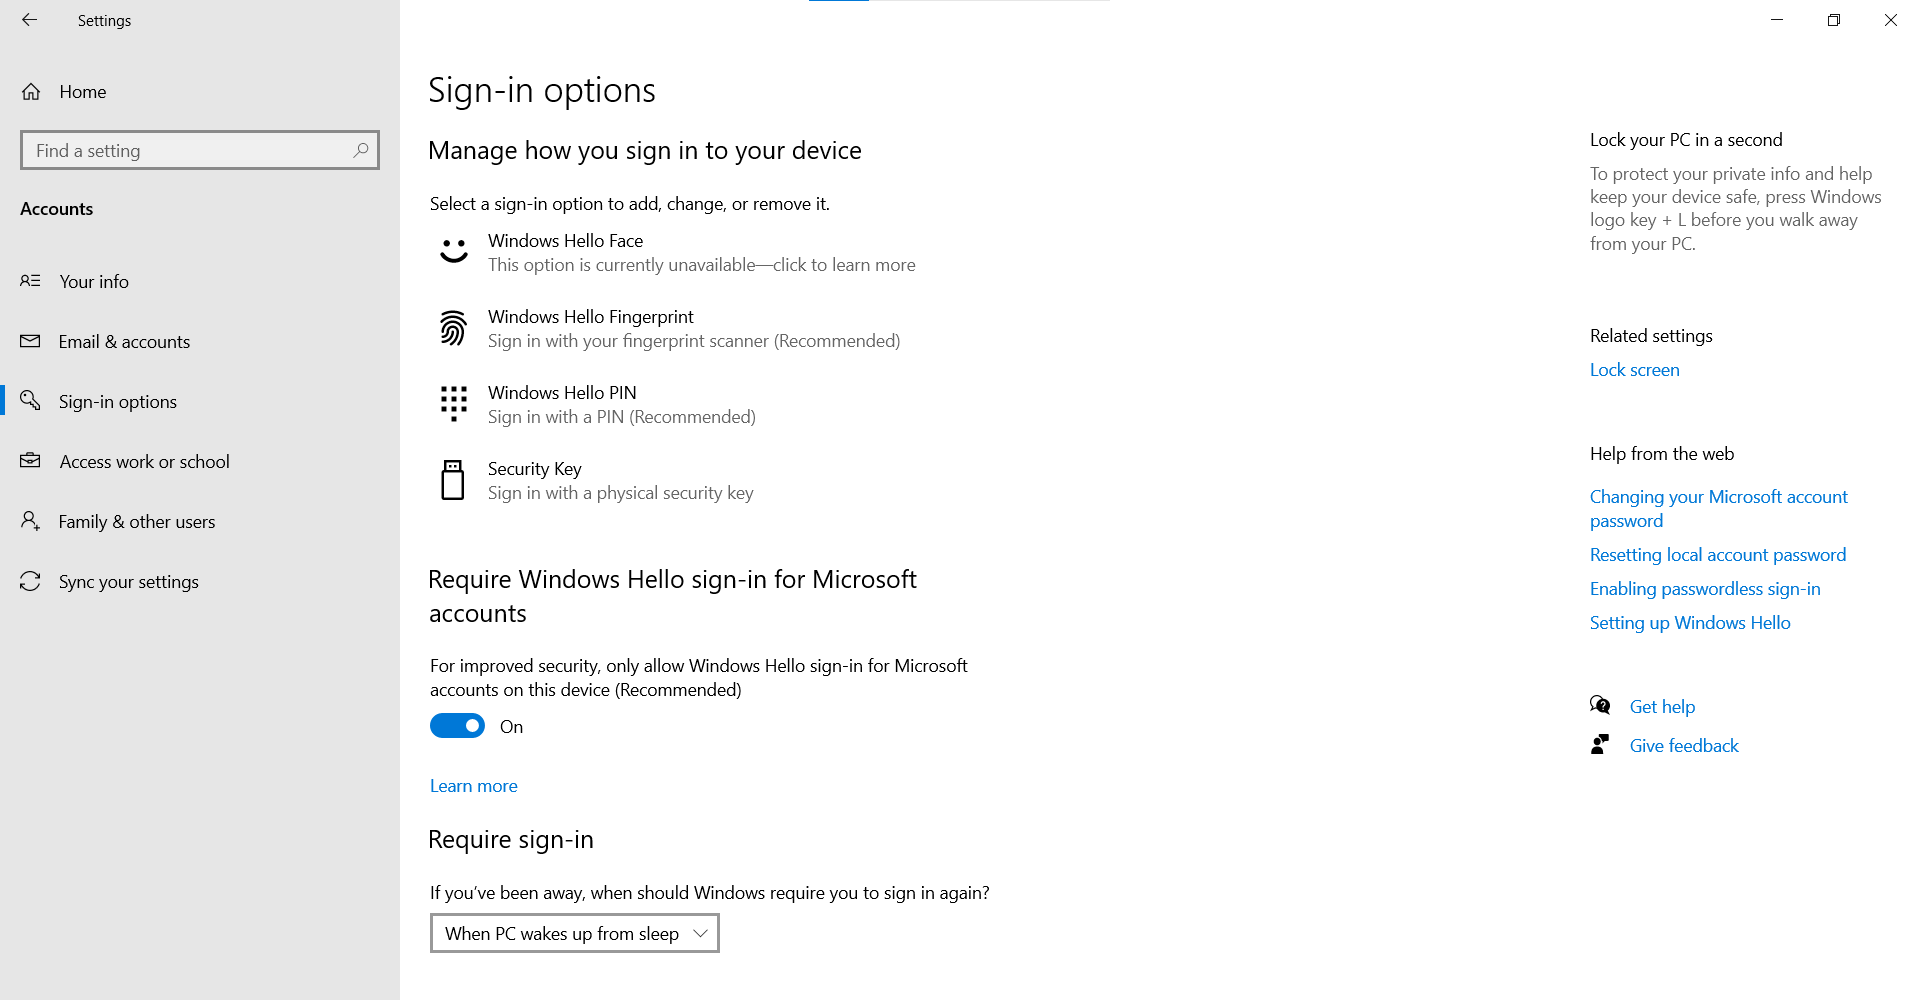
- Windows Hello Face sets up facial recognition.
- Windows Hello Fingerprint sets up sign-in with a fingerprint.
- Windows Hello Pin sets up sign-in with a pin.
Access Control
Windows 10 allows you to create new users on the same system, to do so:
- Select Start > Settings > Accounts > Family & other users.
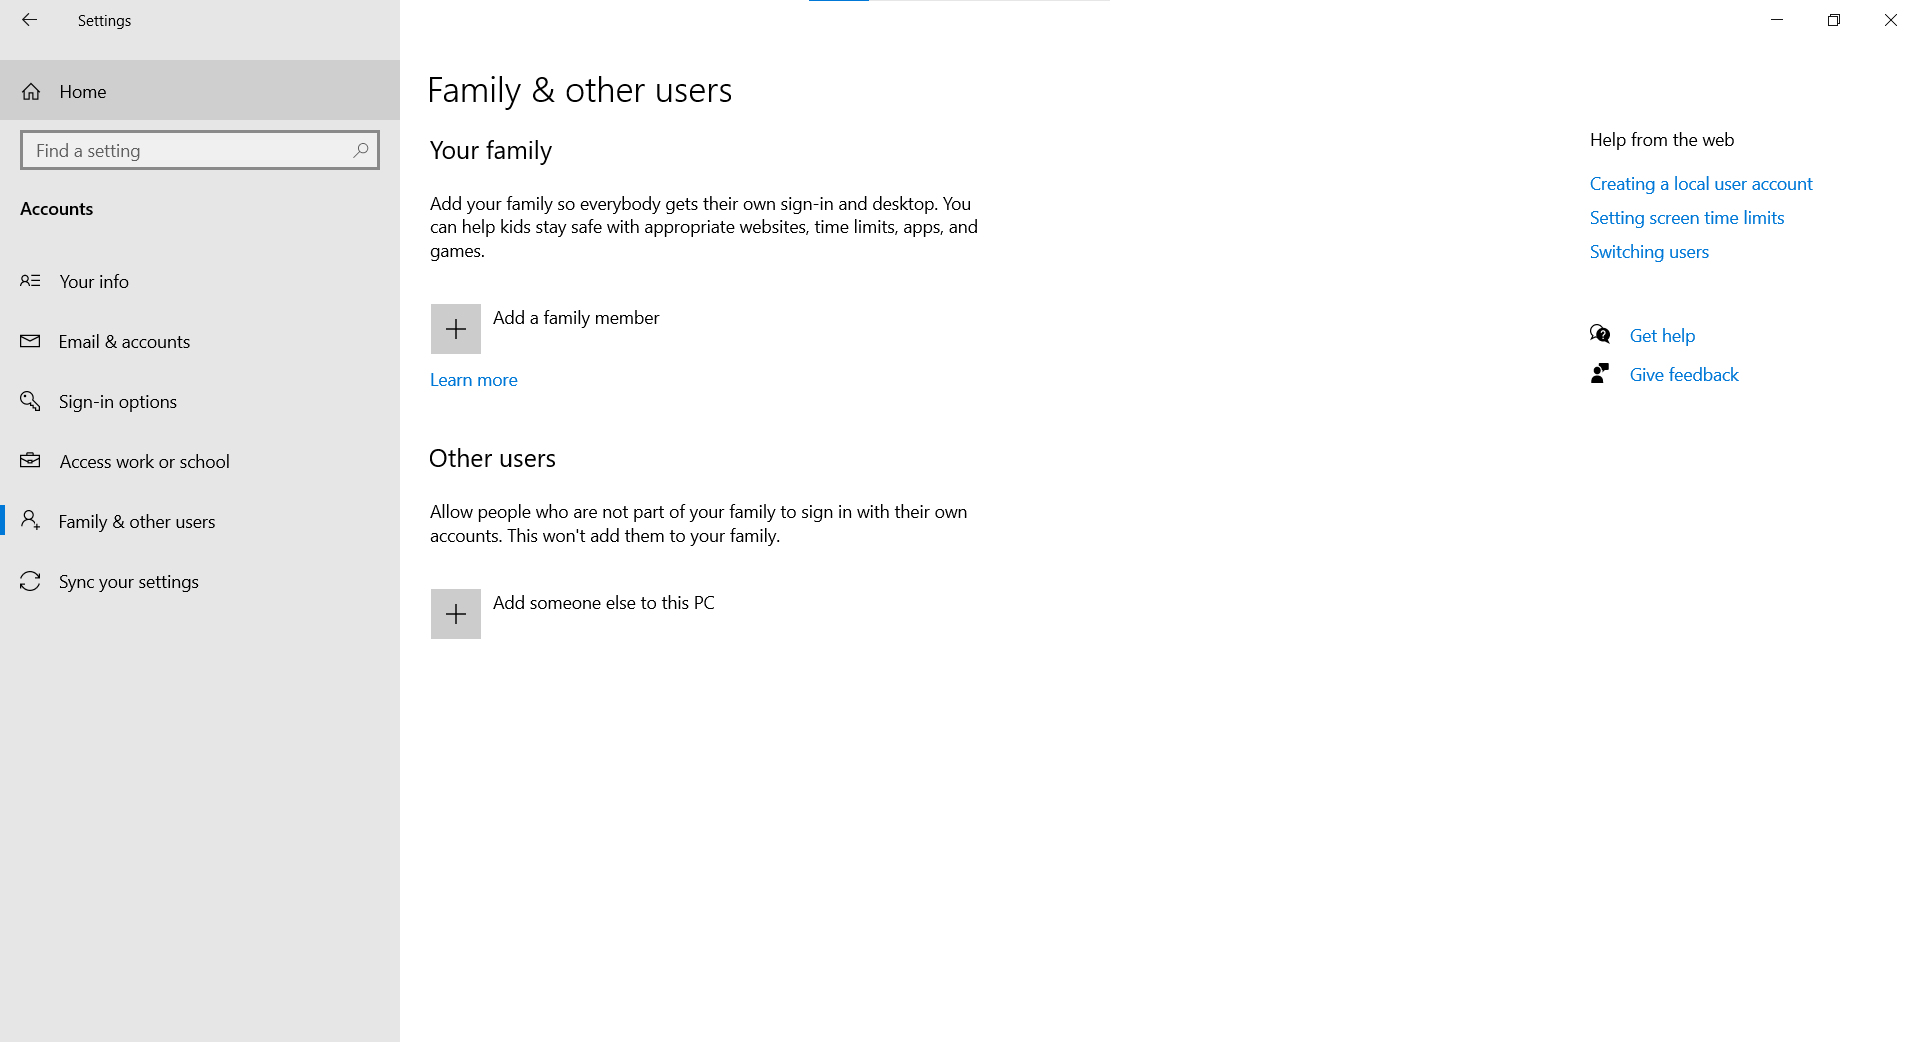
- Under Other users, select Add someone else to this PC.
- Enter that person’s Microsoft account information and follow the prompts.
macOS
Setting Password Credentials
macOS provides a few features to make it more secure, such as requiring a password after waking your Mac.
- On your Mac, choose Apple Menu > System Preferences, click Security & Privacy then click General.
- Select Require password… after sleep or screen saver begins.
- Click the pop-up menu and choose the time that passes before a password is required.
Access Control
macOS allows you to create users guests and groups. To do so:
- On your Mac, choose Apple menu > System Preferences; then click Users & Groups. If the lock at the bottom left is locked, click it to unlock the preference pane.
- Click the Add button below the list of users.
- Click the New Account pop-up menu, then choose a type of user.
- Enter a full name for the new user. An account name is generated automatically. To use a different account name, enter it now — you can’t change it later.
- Enter a password for the user, then reenter it to verify. Enter a password hint to help the user remember their password.
- Click Create User.
Linux
Access Control
Linux allows you to create and manage groups that have specific permissions/rights to certain files and folders. In order to create a group, open the terminal and enter the following commands:
- Create a user:
useradd <username> - Create a group:
groupadd <groupname> - Manage which group/user owns a file:
chown <user> <file> chown :<group> <file> - You can manage the permissions of a file using chmod. For example, to give the owner group of the file read permissions, enter:
In order to do so it is important to understand its symbolic mode.For example:
chmod g+r <filename>- r = read
- w = write
- x = execute
- + = add level of access
- - = remove level of access
- = = set level of access
- u = user
- g = group
- o = others